This tutorial will show you how to soft mod your Wii and prepare it to load backups or games from a hard disc drive. Read Other forums to tell you how to"Prepare your hdd to play Wii backups from USB" or "Make a backup copy of your Wii games." I AM NOT RESPONSIBLE FOR ANYTHING THAT HAPPENS TO YOUR WII! DO AT YOUR OWN RISK! You will need the following;Wii system with system menu 4.2U. (To see what system menu is installed, you will first go to the Wii options button on the bottom left hand of the Wii main menu,)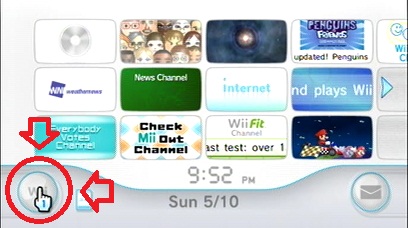 You will then click onto the Wii settings icon on the right hand side of the screen with the wrench
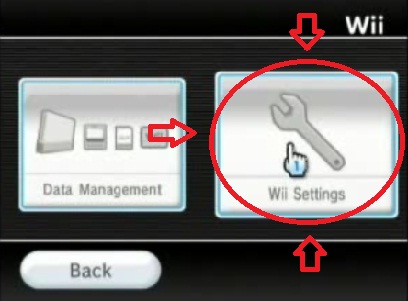 Your system menu will be at the top right of the screen.
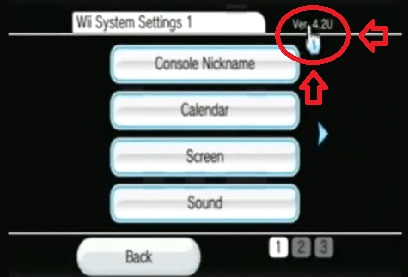 If you are at a lower system menu you can learn to upgrade from the "Upgrade your Wii system menu" tutorial.
You will also need to "Connect your Wii to the Internet"
You will also need an SD Card (2GB is preferred)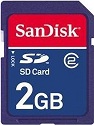
and the following files
A:
- Code:
-
http://www.megaupload.com/?d=6JBO47K6
B:
- Code:
-
http://www.megaupload.com/?d=S6N60ZJA
C:
- Code:
-
http://www.megaupload.com/?d=IXLF8KPD
D:
- Code:
-
http://www.megaupload.com/?d=RYURL8M9
E:
- Code:
-
http://www.megaupload.com/?d=VK0A09XZ
F:
- Code:
-
http://www.megaupload.com/?d=P9620H3B
Download file
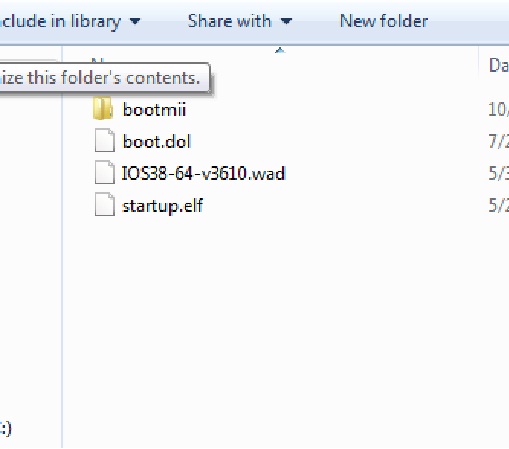
"A" right click and "Extract Here", file A will extract all contents in that folder to your desktop.

The extracted content from file
"A" will look like this.
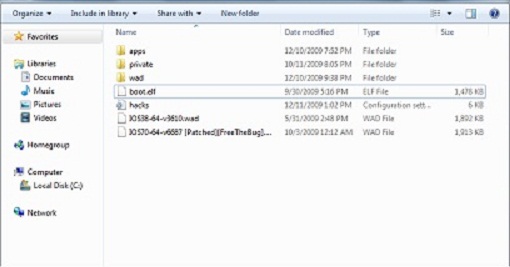
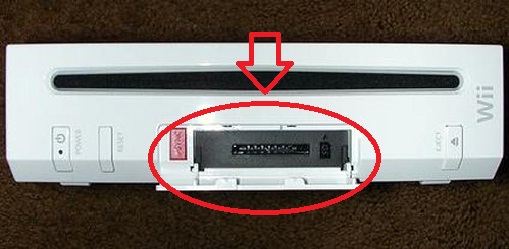
You will then place those files onto the SD card. Once the files are copied onto the SD card place the SD card into the Wiis SD card slot located at the front of the Wii.
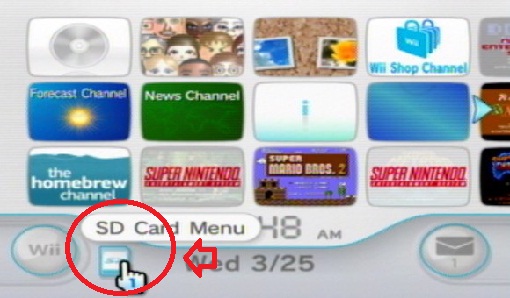
Once the Wii is turned on with the SD card inserted, navigate to the SD card icon on the bottom left of the Wii main menu and click it.
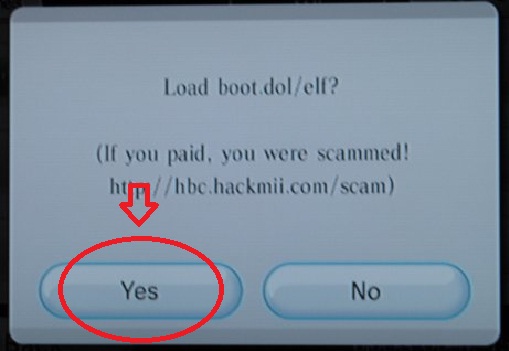
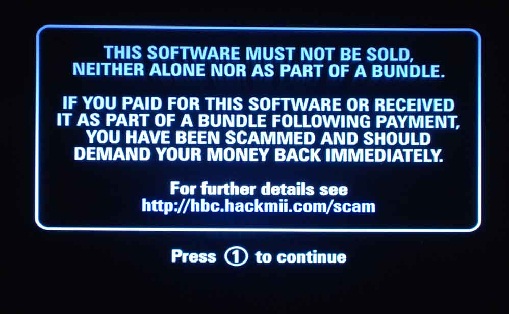
After you have clicked on the SD card icon a warning will pop up about being scammed. Click
"Yes".
You will then be navigated to the following screen. When asked to do so hit "1" on the Wii remote to continue.
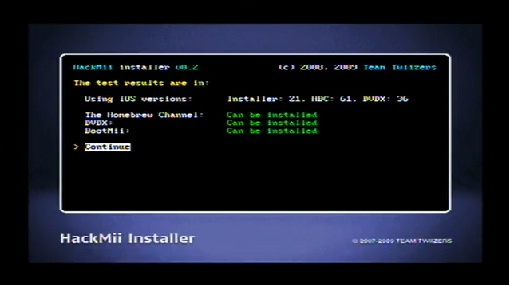
On this Hackmii installer screen it is just explaining what can be installed on your Wii, hit "A" on your Wii remote to continue.
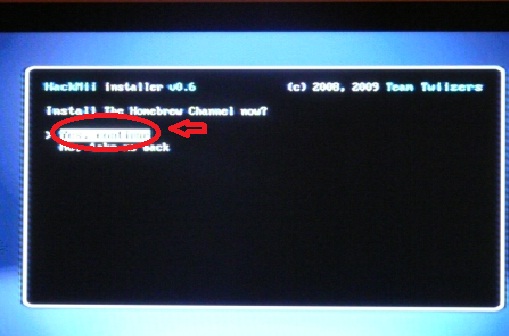
On the main menu of the Hackmii installer navigate up to
"install The Homebrew Channel" and hit A on your Wii remote. Now navigate to "Yes, continue" to install the Homebrew Channel.
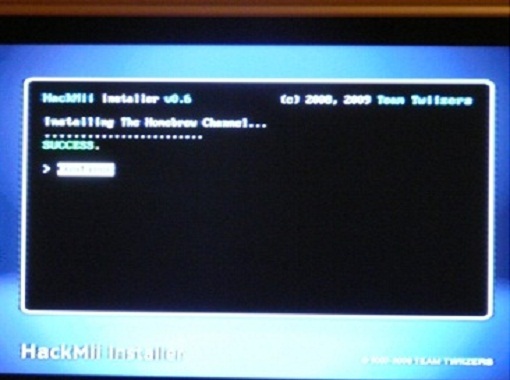
After the Homebrew channel is installed you will see
"SUCCESS" If not you have done something incorrectly or skipped a step. Hit A on the Wii remote to continue. Now navigate down to "Install DVDX" and hit A on the Wii remote, navigate to "Yes, continue" and hit A on the Wii remote to install DVDX. After DVDX is installed hit A on the Wii remote to continue.
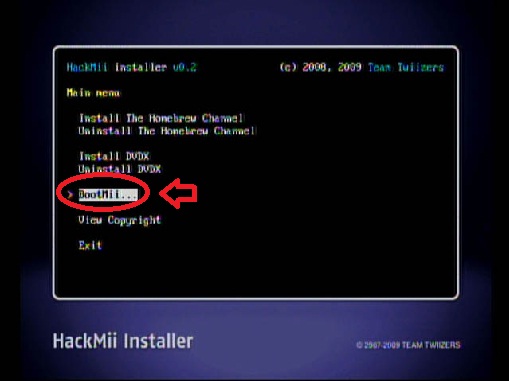
Now navigate to
"Bootmii" and hit A on the Wii remote. You will then be navigated to the Bootmii Menu.
[center]
Scroll up to
"Prepare a SD card" and hit A on the Wii remote, then
"Yes, continue". After the SD card has been mounted you will again see
"SUCCESS" hit A on the Wii remote to continue back to the Bootmii menu. Now navigate to
"Install Bootmii as IOS" and hit A on the Wii remote, then scroll up to
"Yes, continue" and hit A again. The SD card will then again be mounted, and you will be asked "Install Bootmii/IOS now?" Scroll up to "Yes, continue" and hit A on the Wii remote. After the Bootmii ticket is removed you will again see
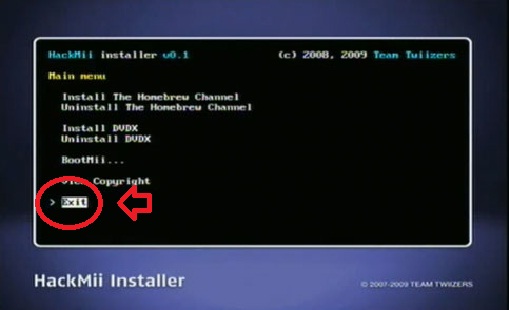
"SUCCESS", hit A on the Wii remote to continue. Now navigate down to "Return to the main menu" and hit A on the Wii remote, then down to exit and hit A again.
After you have exited, power off the Wii. You will then remove the SD card from the Wii SD card slot and install it back into the computer. Now delete all of the file
"A" content from the SD card and place the contents from file
"B" onto the card.

Now install the SD card into the SD card slot on the front of the Wii console, and power on the wii.
After the Wii is powered on, navigate to and start
"The Homebrew Channel"
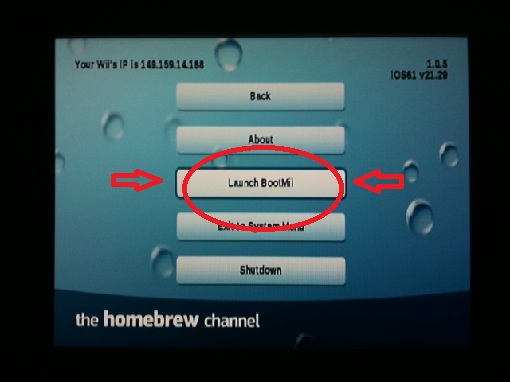
When "The Homebrew Channel" starts, hit the home button on the Wii remote (the little blue house in the middle of the remote), and click on
"Launch Bootmii".
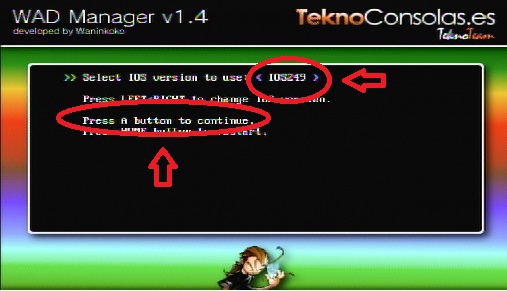
You will now be on the Disclaimer page of "Wad Manager v1.5"
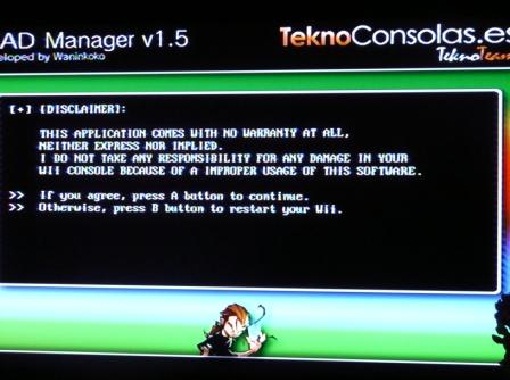
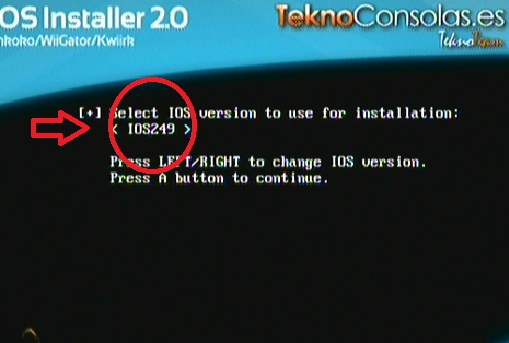
Hit the A button on the Wii remote to continue. Now hit right on the D pad of the Wii remote to select IOS version 36, then A to continue.
On the
"Select source device" select
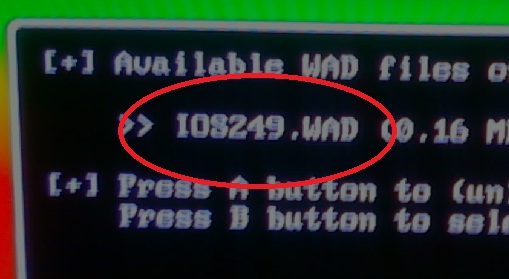
"Wii SD Slot" and hit A on the Wii remote, then A again on the "Available WAD files on the device" screen to select
"IOS249.WAD".
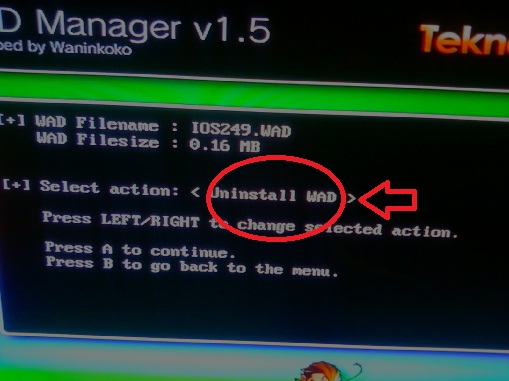
Now hit right on the D pad of the Wii remote this way
"Uninstall WAD" is chosen next to Select action, and hit A on the Wii remote to Uninstall IOS249.
If successful Deleting the WAD, next to Deleting Tickets, Deleting title contents and Deleting title the should be ...OK!

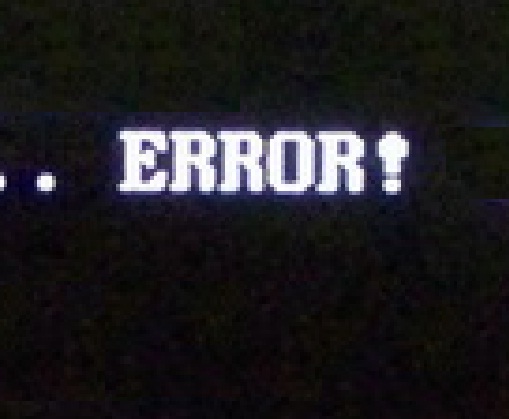
If unsuccessful Deleting the WAD, next to Deleting Tickets, Deleting title contents and Deleting title there will be ..ERROR! If you recieve these error codes go back to the first screen "Select IOS version to use" and select IOS250 instead of IOS36 and continue the tutorial the same. If you again recieve error codes when deleting the WAD, try IOS250 on Select IOS version to use" screen and again continue the tutorial the same. One of them will work.
Once you have ..OK and successfully uninstalled IOS249.WAD hit A on the Wii remote to continue, then B to get back to the "Select source device" screen then the home button to head back to the Wii main menu. Now take out the SD card from the Wii SD slot and place it back into your computer. Now erase the File
"B" content and place file
"C" content onto the SD card.
After you have placed the contents from file
"C" onto the SD card place the SD card back into the Wii SD slot, and navigate and start
"The Homebrew Channel"After
"The Homebrew Channel" has started press the
"home"(the little blue house in the center of the Wii remote) button on the Wii remote and navigate to and press
"Launch Bootmii".
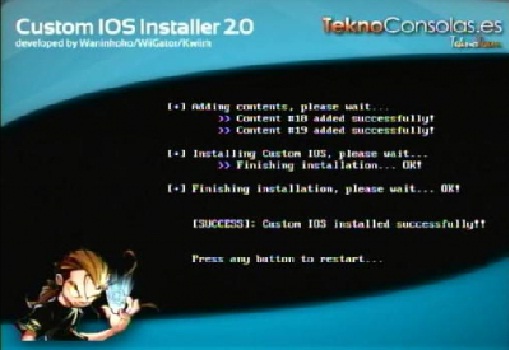
After a whole bunch of scary code
"Custom IOS Installer 2.0" will start. (the music makes me wanna punch something). On this first screen under
"Select IOS version to use during installation" press left on the D pad on the Wii remote until "Do not reload IOS" is chosen, then press A on the Wii remote, the A gain to agree to the disclaimer. On the next page under
"Select custom IOS installation mode" press right on the D pad of the Wii remote until "Network installation is chosen and hit A to install.
After you have successfully installed the IOS, hit the A button on the Wii remote to return to the Wii menu.
Now remove the SD card from the Wii SD card slot and place it yet again into your computer. Remove all the content on the SD card. Place the "wad" folder and "apps" folder from the first file we used file
"A" onto the SD card.
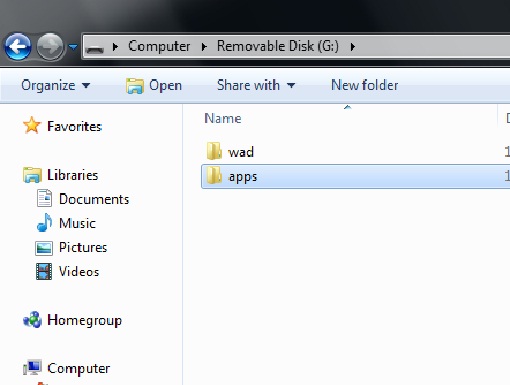
After you have copied over the 2 files to the SD card place the SD card back into the SD card slot in the Wii.
Now navigate to and start
"The HomebrewCchannel".
The "NeoGamma" icon is what you use to play backups from a dvd-r disc, and "USB Loader GX' is what you will use to play your backups from an external hard drive. (how to use both are covered in another tutorial). ENJOY!

